ADVERTISEMENT

~ Bird feeder tutorial
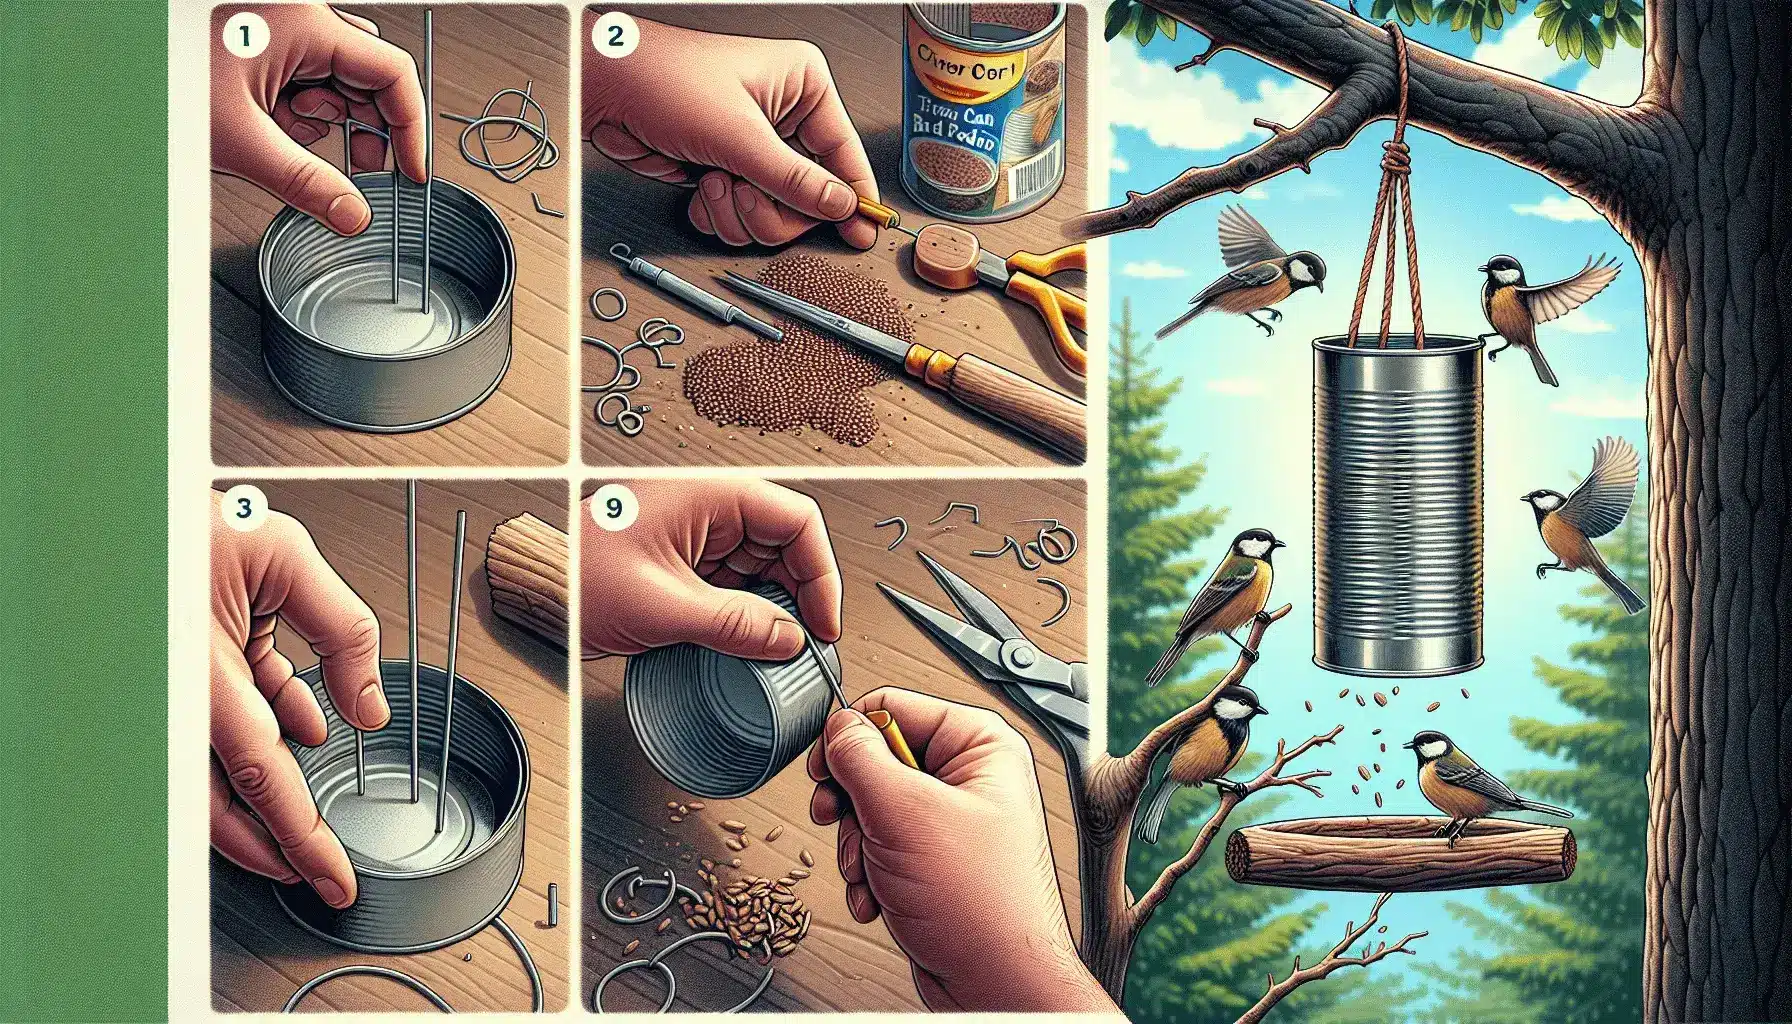
Welcome to our step-by-step guide on how to make your own DIY bird feeder! This project is perfect for bird enthusiasts of all skill levels. Whether you’re a beginner or experienced DIYer, this tutorial will walk you through the process of creating a beautiful and functional bird feeder to attract a variety of feathered friends to your garden.
~ Materials you will need:
Before we get started, let’s gather all the necessary materials. Don’t worry, you won’t need any special tools or equipment for this project. Here’s a list of items you’ll need:
- Empty plastic bottle
- Scissors or craft knife
- Wooden spoons or dowels
- Twine or string
- Birdseed
- Markers or paint (optional for decorating)
~ Step 1: Prepare the bottle
The first step is to prepare the plastic bottle. Start by removing the cap and labels. You can use any size of a plastic bottle, but a 1-liter bottle works well for most bird feeders. Make sure to wash and dry the bottle thoroughly before proceeding to the next step.
~ Step 2: Cut holes for the birds
Using scissors or a craft knife, carefully cut two small holes near the bottom of the bottle. Make sure the holes are large enough for birds to access the birdseed. These holes will serve as feeding ports for our feathered friends.
~ Step 3: Attach the wooden spoons or dowels
Next, we’ll attach the wooden spoons or dowels to create perches for the birds. Cut three or four wooden spoons or dowels to a length of about 6 inches each. Insert the cut ends of the spoons or dowels through the holes you made in the previous step. Make sure they are securely in place.
~ Step 4: Decorate the bird feeder (optional)
If you want to add a personal touch to your bird feeder, this is the step where you can get creative. Use markers or paint to decorate the plastic bottle. You can add colorful designs or patterns to attract more birds to your feeder. Let your imagination fly!
~ Step 5: Fill the bird feeder with seeds
Now that your bird feeder is complete, it’s time to fill it up with birdseed. Remove the cap from the bottle and pour birdseed into the container. Fill it up to the level of the feeding ports, making sure not to overfill. Different bird species prefer different types of seeds, so consider using a mix of seeds to attract a diverse range of birds.
~ Step 6: Hang the bird feeder
Choose a suitable location to hang your bird feeder. It should be a quiet and safe spot, away from predators. You can hang it from a tree branch, a hook, or any other elevated surface. Use twine or string to securely hang the feeder in place. Make sure it is at a height where you can easily observe and enjoy the birds that visit.
That’s it! You’ve successfully made your own DIY bird feeder. Now all you have to do is sit back, relax, and watch as your feathered friends flock to their new feeding station. Remember to regularly clean and refill the feeder to keep it in good condition and provide a steady supply of food for the birds.
We hope you enjoyed this tutorial and found it helpful. Making your own bird feeder is a rewarding and eco-friendly way to attract birds to your garden while adding a decorative element to your outdoor space. Get creative, experiment with different designs, and enjoy the beauty of nature right at your doorstep!
Happy bird feeding!
Read also!
ADVERTISEMENT


